
START HERE
Your first character, step by step.
Make one character you want to keep. This short workflow takes you from a starting look to an outfit, a pose, and a finished picture.
1. Start with a look
The studio opens with Muse, a complete character ready to change. Give your character a name in the field above the canvas. Open Looks to choose one of 18 starting outfits. Applying a look replaces the active character’s appearance while preserving their pose and scene placement.
For a first exercise, imagine a character on the way to an evening art class. Keep one recognizable detail—a hairstyle, an accessory, or a favorite color—and build the rest around it. You can change your mind at any time with Undo.
2. Build an outfit in Dress up
Dress up contains hair, faces, tops, bottoms, shoes, accessories, and body options. Select a category, then tap a piece to wear it. Regular wardrobe items replace the existing item in their category. Different accessories can be combined. Choose Show more pieces to see the rest of a category, or search for any piece by name.
Use the search field when you know the name of a piece. Body offers Classic, Petite, Soft, Tall, and Chibi proportions, plus skin tones. Try the outline first, then choose clothing that suits it. There is no scoring or correct combination.
3. Choose a small palette
Select a piece and use Piece settings to recolor it. On smaller screens, tap Edit details to open that panel. Original colors returns to the illustrated colors; it does not remove the piece. Imported PNGs keep their own colors.
Give your art-class character one main color, one quieter supporting color, and one small accent. A dark skirt, cream cardigan, and warm hair color create a different impression from bright clothing on the same body. If a change does not work, Undo restores the previous state.
4. Add a gesture
Open Pose and try one of the 20 gestures. Fine-tune the pose reveals joint controls for the head, torso, shoulders, elbows, hips, and knees. Make small changes and look at the whole character between adjustments. Mirror pose reverses the gesture; Reset pose returns to standing.
Clothes are assembled from illustrated pieces. A very sharp bend may need a position or size adjustment. Use the layers and poses guide when a sleeve or accessory does not sit where you expect.
5. Add pets and a setting
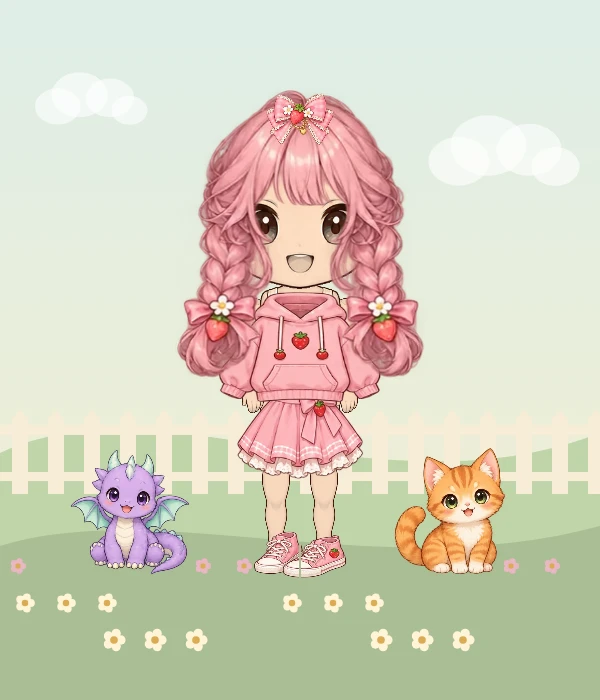
Open Pets to choose an animal friend. There are eight pets to try, including a kitten, puppy, bunny, fox, panda, dragon, chick, and turtle. Up to six pets can share a scene with your characters. Drag a pet on the canvas or select it in Pets in this scene, then use Edit details on a phone to open Pet settings.
Pet settings includes size, rotation, mirroring, visibility, placement locks, duplication, removal, and moving a pet in front of or behind the cast. In Scene, choose from 16 backgrounds or use Story lineup and Portrait grid to arrange characters. Pets appear in Scene view and its PNG downloads.
6. Save a project and download a picture
The status above the canvas tells you whether the current draft has saved on this device. Save creates a separate copy in My projects, which holds up to 20 projects. Saving versions is useful before trying a different hairstyle or a major outfit change.
Download PNG creates a finished image of the current Character or Scene view. Open Download options for size and transparency choices. A PNG does not preserve separate clothing layers. It is useful as an avatar, character reference, or picture to share.
Next: give your character some company
Open Scene, select Add a friend, and switch to Scene view above the canvas. A project can contain four characters. Select a cast member to change their own outfit and pose, then drag the character into place or use the position sliders. Fit cast brings unlocked characters back into the frame.
For a prop you drew yourself, open Your art and import a transparent PNG. It becomes a separate layer that can move with the body, head, or a hand. Use artwork you own or have permission to use.
Open the character workshop →